
Tutorial
Pre-population, validation, environments and testing
Use Liquid pre-population, version history, QA deployments and Prototype data inspector.
Learn how to pre-populate values, validate calculated content, manage versions and test a service before release.
1. Work from a safe copy
Duplicate your Tutorial 2 service in the same library, give the copy a new name and ID, and use that copy for this tutorial. Keep IDs such as claimAmount and vatAmount unchanged so templates continue to work.
2. Pre-populate VAT
Open the VAT amount component and use its Pre-population tab. A typical Liquid template is:
{% if claimAmount != blank and claimAmount != 0 %}{{ claimAmount | times: 0.2 | round_fixed: 2 }}{% endif %}This only produces a value when the claim amount is present and non-zero. Add conditional validation if the business rule requires the entered VAT amount to match the calculated value.
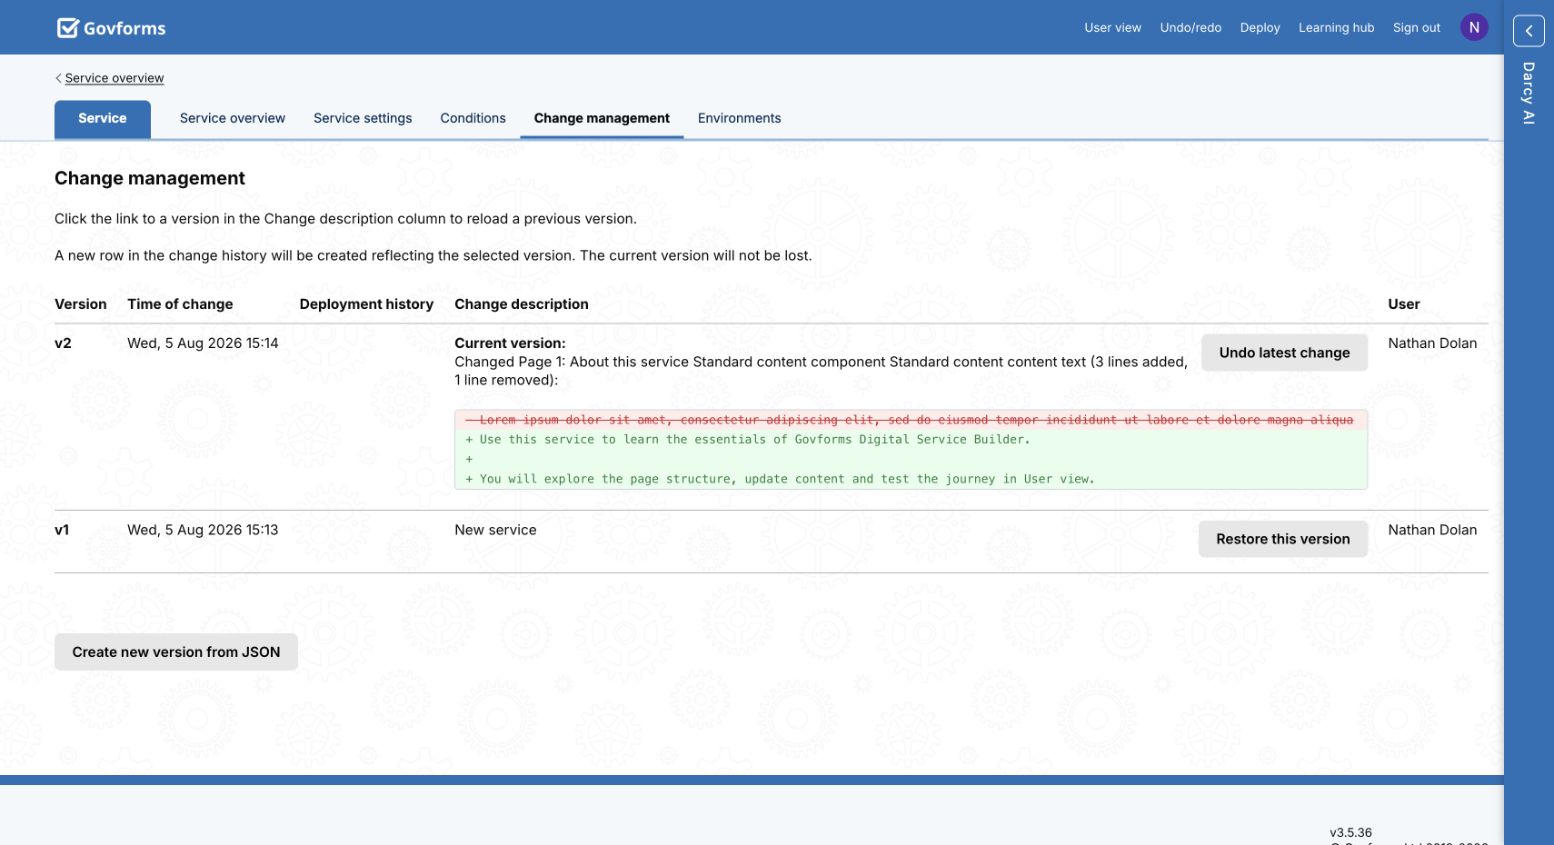
3. Review version history
Every applied Builder change creates a version. Open Change management to inspect the diff, undo the latest change or restore an earlier version. Restoring creates a new version; it does not erase later history.
4. Deploy to QA
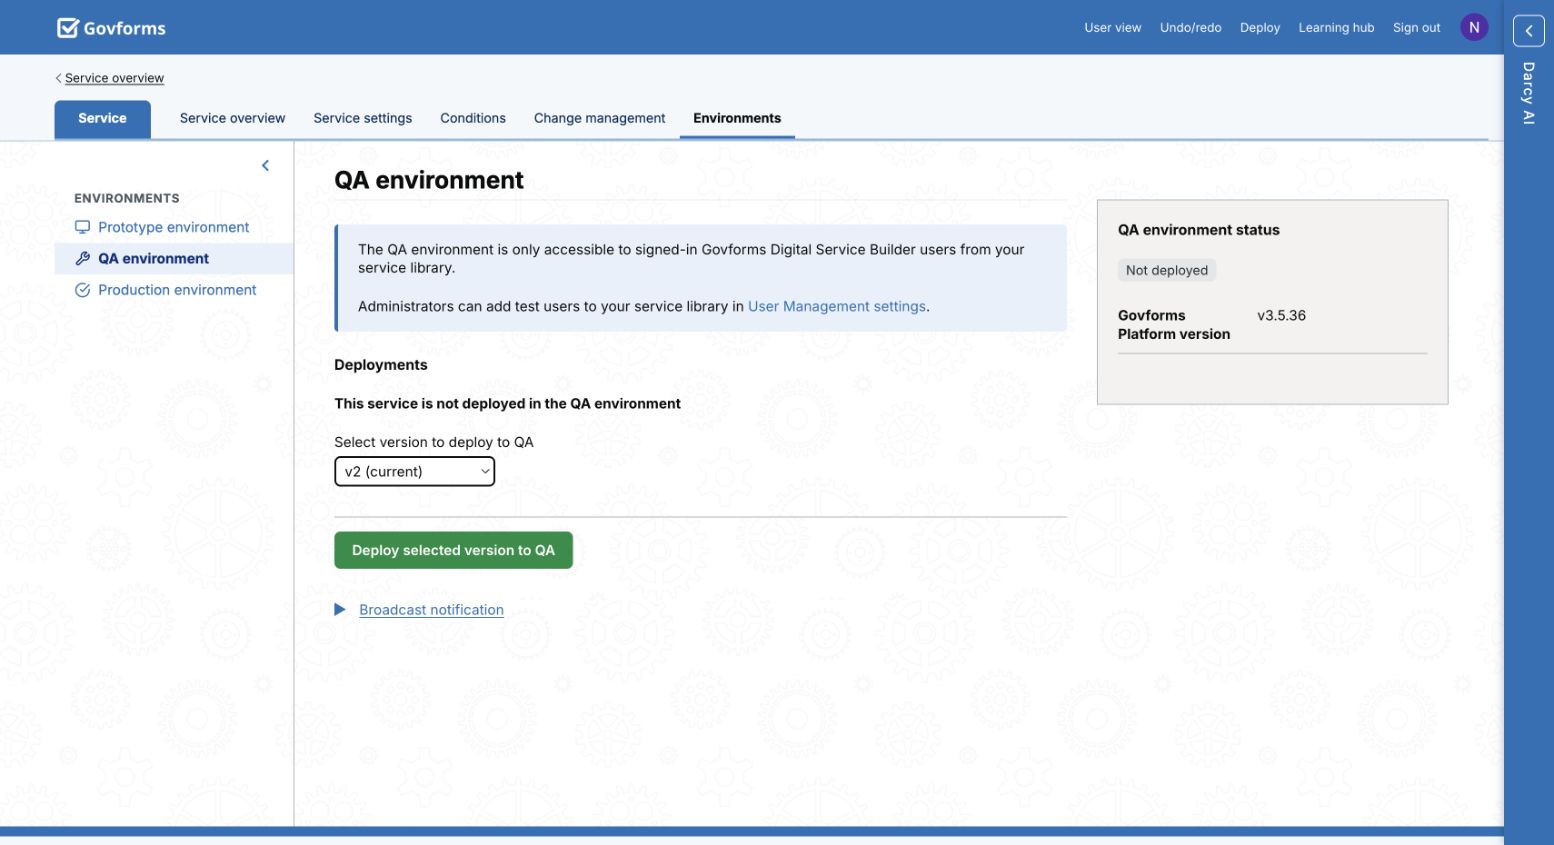
Open Environments, select QA environment, choose the version you want to test and deploy it. QA is restricted to signed-in members of your service library. Deploy the version you have tested, not simply the version with the highest number.
5. Use the data inspector
In Prototype or QA, enter realistic non-sensitive data and select Data inspector. Inspect captured variables and their field values. From a component’s Pre-population tab, use the link to test the Liquid template directly in the Prototype data inspector. Change the template or test values, evaluate again, and confirm boundary cases before deployment.
What you learned
- Preserve stable component IDs when cloning a service.
- Pre-populate calculated values safely with Liquid.
- Inspect and restore version history.
- Deploy an explicit version to QA and test it.