
Tutorial
Build a service with uploads and conditional page flow
Build an expense-claim journey with validated amounts, file upload and an exit route.
Build an expense-claim journey with a receipt question, amount fields, a file upload and conditional routing.
1. Start from an empty service
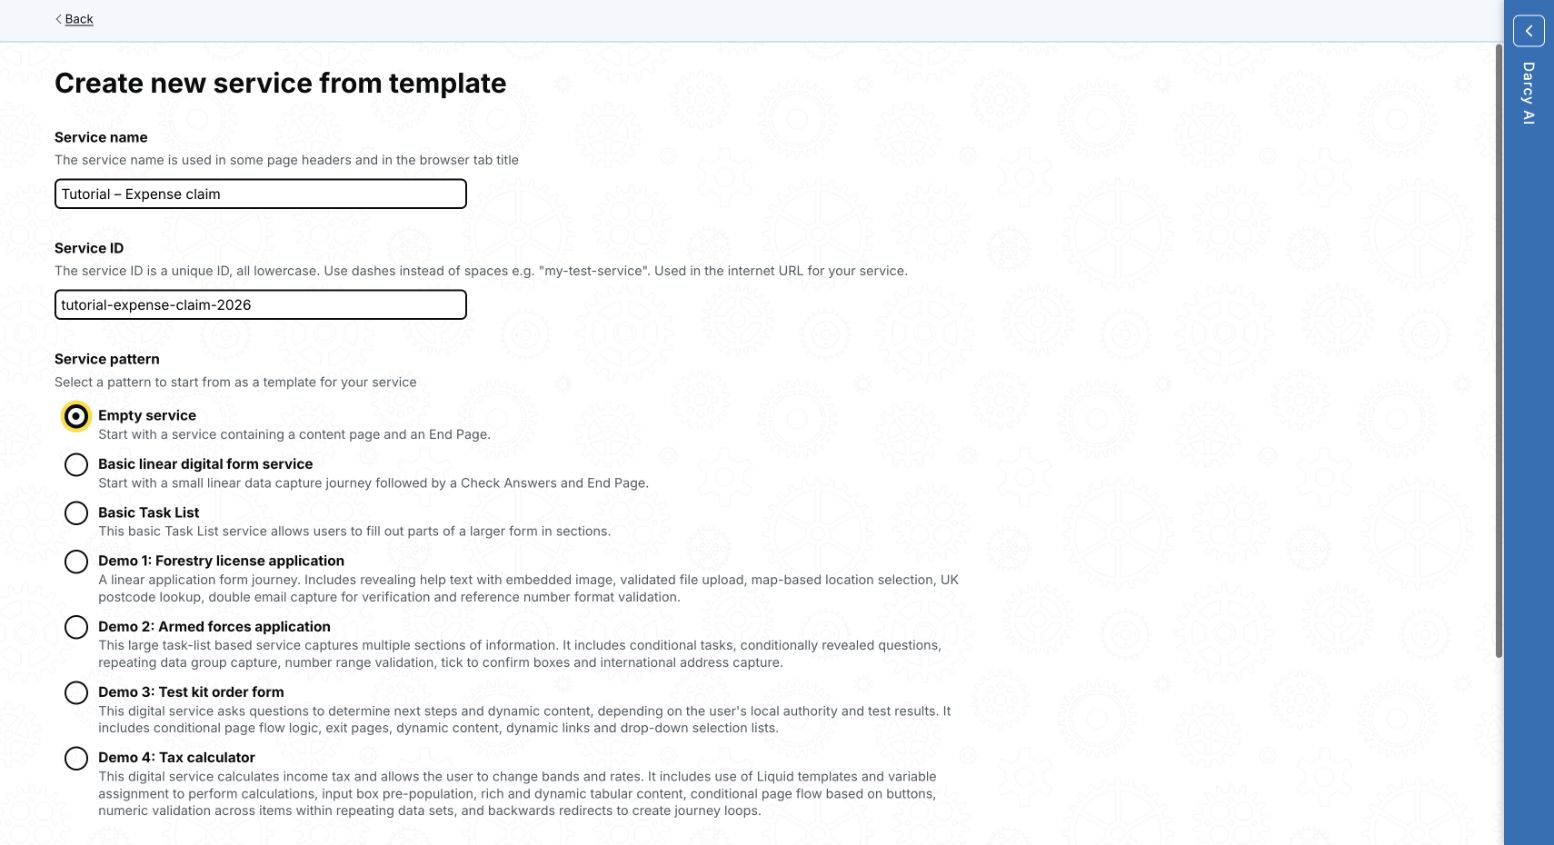
Create a new service, choose Empty service, and give it a unique name and ID.
2. Write the introduction
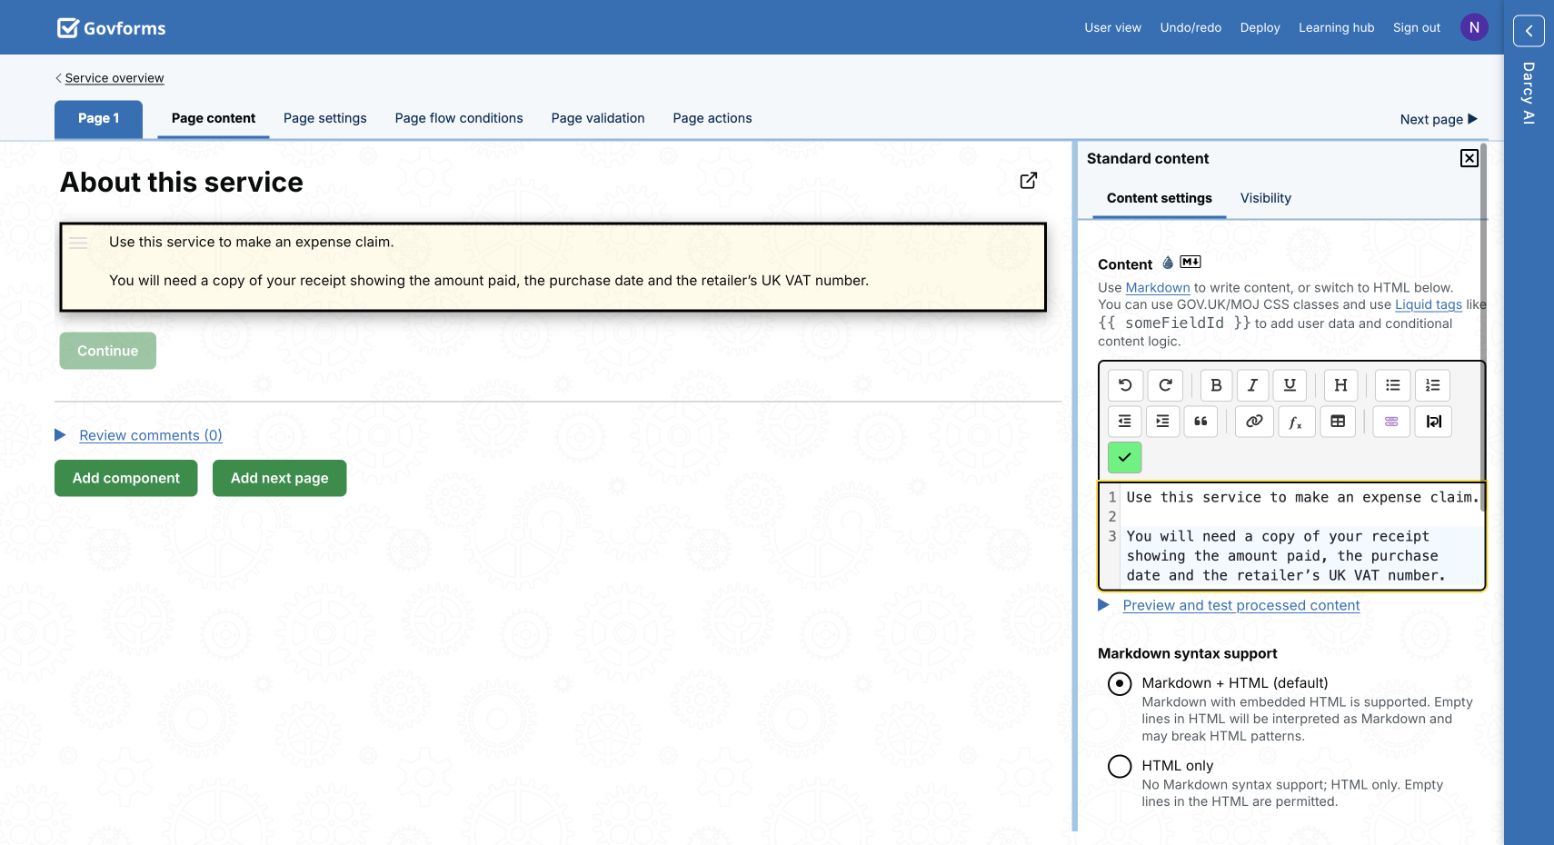
Open Page 1 and edit its Standard content component. Explain that the user needs a receipt showing the amount paid, purchase date and retailer’s UK VAT number. Use short paragraphs and preview processed content before applying.
3. Add the receipt question
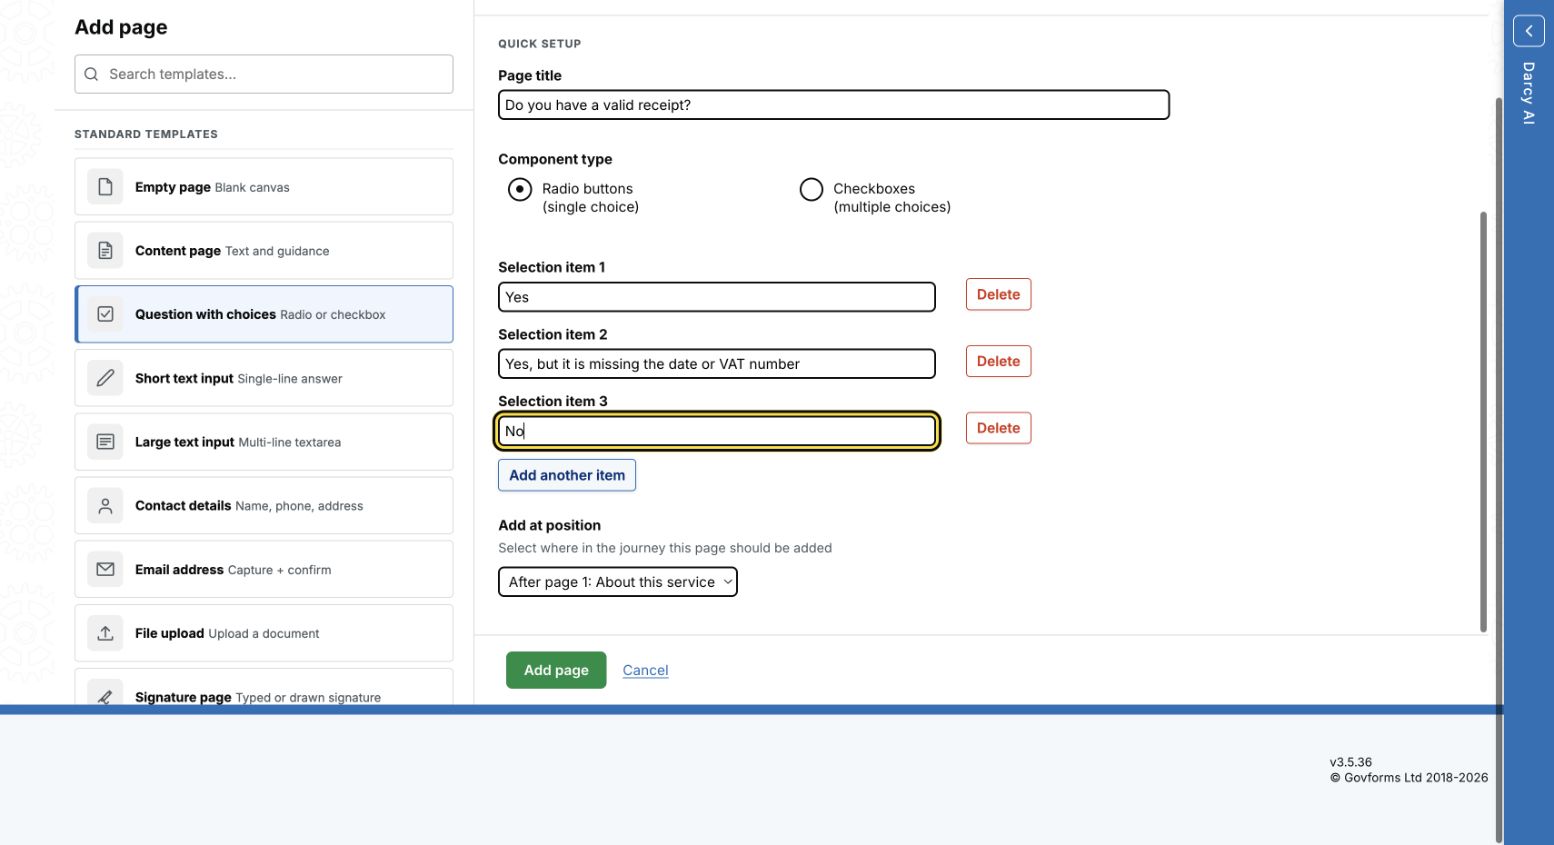
Select Add next page. The current Builder uses a template gallery: choose Question with choices, enter “Do you have a valid receipt?”, keep radio buttons and provide three choices: Yes; Yes, but it is missing the date or VAT number; No.
4. Add claim details and upload
- Add a multiple-input page titled “About your claim”. Configure two text inputs:
claimAmountandvatAmount. Use a £ prefix, numbers-only validation and two decimal places. - Add a File upload page titled “Upload your receipt”. Remove any repeated label, add clear hint text and accept JPG, JPEG, PNG and PDF.
- Add a Check your answers page and set its continue button to “Submit claim”.
- Add an End page titled “Your claim has been submitted” and explain what happens next.
5. Add the exit route
Add an Exit page after the receipt question. Attach page-flow conditions for the second and third choices and join them with OR. In User view, “Yes” should continue; either invalid-receipt answer should reach the Exit page.
What you learned
- Use the current Add page template gallery.
- Configure monetary and file validation.
- Create check-answers and end pages.
- Use OR conditions for alternate exit routes.